On premise Pickcel server setup in Offline.
The following are the steps to configure & setup your signage server with Docker setup.
node --version docker --version If they are installed, then you would see their versions like in the image below.Note that your versions may vary depending on the time and updates.
To install them, go to their installation page (links given below) & follow the instructions for your operating system.
In case of docker, if your environment is server then look at the server section of their installation page & choose your operating system from the given list. You'll get the installation instructions there.
Once you're done installing them, you can run the first point commands again to verify.
If you're using Linux, make sure that
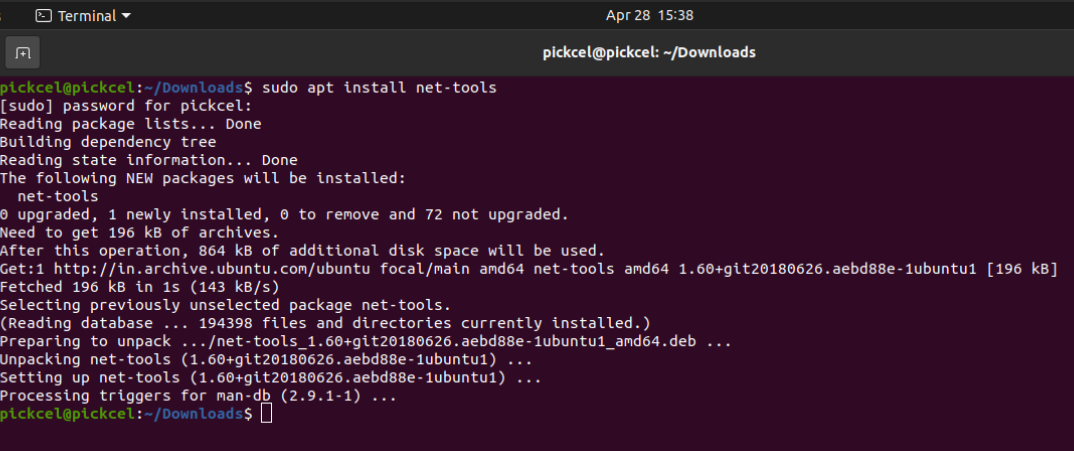
ifconfigis installed as well. You'll need it to get ip address of your local network. Use the below command to install.
sudo apt install net-tools
- Connect your device to the network (wifi or ethernet) when the screen is also connected.
Open terminal (Linux) or command prompt (windows).
To know the local IP address of your device, if you're using windows, you can use
ipconfigcommand. In Linux, you'll have to useifconfigcommand.Linux example:
Windows example:
 Note this Ip address somewhere. E.g.. the highlighted IPV4 address in Windows and inet address in Linux in the screenshots above
 Note that this Ip address may vary according to your system and network.
Now extract/unzip the docker setup file that you got to your required folder. Click on Extract.
Select the folder that you want to add it to and click on Extract again.
It will extract the files like this:
You can confirm if the file exists in your folder once its extracted.Using
cdcommand, navigate to the extracted/unzipped folder.Run the setup command (inside the extracted folder). It will ask you for the Ip address to enter.
npm run setup
Enter the ip address and press enter.
On finishing the setup, you should see done and your signage server should be running.
- You can verify this by opening your browser and entering a URL
http://<ip-address> The ip address in the URL suggests you add your server ip address.
 This should load the server.
Related Articles
Pickcel Digital Signage On Premise server
Definition of on-premise server/setup basic requirements for setting it up advantages limitationsDoes Pickcel work offline?
Certainly. Pickcel offers offline support for Images, Videos, and PDFs, ensuring uninterrupted operation even when an internet connection is unavailable. It's important to highlight that all apps, except for the URL and Youtube apps, can be accessed ...How to Change the IP Address in Pickcel On-Premise Setup?
To update the IP address for your on-premise Pickcel deployment, you need to modify two files and then restart the server. Follow the steps below: Edit the .env File Log in to your server terminal. Open the .env file using the nano editor(or vi ...How to Change Pickcel On-Premise Server from IP Address to Domain Name?
If you're migrating your Pickcel on-premise deployment to use a domain name instead of an IP address, follow the steps below: Edit the .env File Log in to your server terminal. Open the .env file using nano(or Vi): In this example: nano .env Find and ...Is it possible to host Pickcel on my own cloud or on-premise server?
Yes, we do provide on-premise solutions. For more details please contact our support team.

