How to install the Pickcel digital signage software on Windows player?

Note: Supported on Windows 10 & 11.
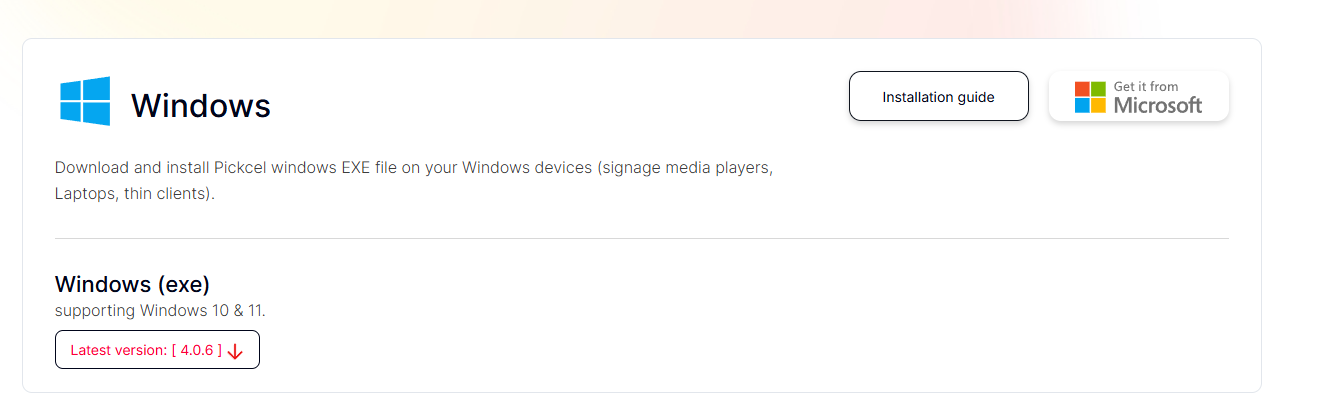
Follow this simple procedure to Install the Pickcel Software on your Windows device from the Pickcel Website:
Considerations for Physical setup :
- Windows system (10 or above).
- Active internet connection.
2. Download the Exe file for your Windows by clicking on the download option.
3. Now go to 'FileBrowser' > ' Downloads' and double click on the file that got downloaded.
4. Click on ' More info.'
5. Click on 'Run Anyway.'
6. Once the installation is complete, the app will launch automatically and it will show you a unique screen registration code.
7. Pair your display with the pickcel console using the registration code. You will have to enter this code on your Pickcel console ( https://console.pickcel.com/ ) to complete the pairing of your screen.
 To learn how to pair your device with the Pickcel console, click here
8. You can enable the startup and boot option by right-clicking on the screen to automatically launch the Pickcel app after the system restarts.
Restart the system. After the boot, the Pickcel app should launch automatically and start playing the content.
To minimize the Pickcel app, press Windows + M or Windows + D
To close the Pickcel app, use the exit option from the app. Right-click, and you will see the exit option.
The installation of the Pickcel digital signage software on your Windows system is successful, and you can start publishing content on your screens now.
Related Articles
How to install the Pickcel digital signage software on Raspberry Pi?
Note : The supported version is Version 4 and above. Follow this simple procedure to Install the Pickcel Software on your raspberry Pi device from the Pickcel Website: 1. Go to https://www.pickcel.com/download/#raspberry-pi 2. Click on the Download ...How to install the Pickcel digital signage software on Linux player?
Note: The supported version of the Linux player is Ubuntu 18 and above Follow this simple procedure to Install the Pickcel Software on your Linux device from the Pickcel Website: Considerations for the physical setup: I. Linux system. II. Active ...How to add the App for Slack from the Pickcel App Store?
Pickcel's Slack allows you to show content from your Slack account and a channel where you are a member. 1. Login to your Pickcel account. Click on the Apps module. 2. Search for the app Slack using the Search box and you will find the app "App for ...How to install Pickcel signage app on my Digital signage player?
We kindly request you to refer to the Pickcel digital signage player page for vital instructions pertaining to supported hardware, operating systems, and detailed installation procedures for the application.What's Signage Media Player ?
A media player is a device connected to the internet that showcases content on a screen. It serves as a conduit between the Content Management System (typically a computer) and the display screen. Its primary function is to receive instructions from ...